
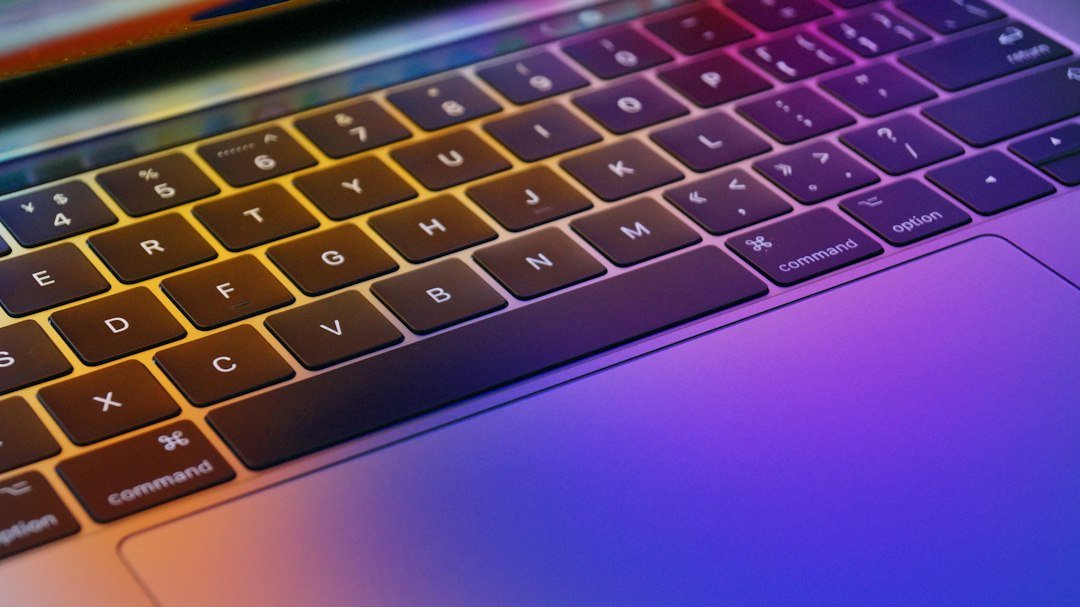
Using a mac keyboard tester lets you instantly identify dead keys, stuck modifiers, or layout mismatches on any Apple device. These online tools run directly in your browser, checking physical key codes to see if your hardware communicates correctly with macOS. You don’t need to install drivers or restart your system to get a clear picture of your keyboard’s health.
Try it now: keyboard tester
Key Takeaways
- Online testers verify physical key codes, not just visual layout.
- Modifier keys like Command (⌘) and Option (⌥) require specific checks.
- Non-mechanical Mac keyboards often have lower rollover limits than gaming gear.
- Testing is essential for used Macs to check for butterfly switch issues.
Why Standard Windows Testers Miss Mac Keys
macOS handles input differently than Windows. The operating system uses stricter HID protocol parsing, which means many keyboards that claim full N-Key Rollover (NKRO) actually drop to 6KRO mode on a Mac. This limitation can make it hard to detect if a key is truly dead or if the system is simply ignoring simultaneous presses.
A dedicated mac keyboard tester recognizes specific MacOS key codes and modifier combinations that generic Windows tools often miss. This ensures that when you press Control, Option, or Command, the virtual map lights up the correct key, confirming the signal reached the OS.
For a broad check of every key on your board, you can use a general keyboard tester to see the name and code of every key you press. This helps isolate whether an issue is specific to the Mac environment or a hardware fault.

How to Test Your Mac Keyboard Step-by-Step
Start by opening a browser-based mac keyboard tester. The interface will display a virtual layout matching your Apple keyboard, including the function row and modifier keys. Press every single key on your physical board. The tool should highlight the corresponding key on screen and display its code.
Watch for keys that do not light up; these are your dead keys. Next, focus on the modifiers. Press Command (⌘), Option (⌥), and Control (⌃) individually, then in combinations. If a modifier fails to register, shortcuts like Cmd+C or Option+Arrow keys will break across your entire system.
Checking the Function Row and Fn Key
The F1-F12 keys on MacBooks behave differently depending on your system settings. By default, these keys control brightness, volume, and mission control. To test if they register as standard function keys, you often need to hold the Fn key.
If you have changed your settings to use F1-F12 as standard function keys, they should register without the Fn modifier. A reliable tester will show you exactly which code is being sent.
If you expect a standard F-key code but see a media command instead, your settings are likely misconfigured rather than the hardware being broken.
Identifying Dead Keys on Butterfly Keyboards
If you own a MacBook from the 2016-2019 era, you are using a butterfly mechanism. These switches are known for being prone to failure, leading to keys that stick, repeat, or stop working entirely. A quick test reveals these issues in seconds.
If a key registers multiple times when pressed once, or fails to register at all, it is a hardware defect. Documenting these failures is crucial before sending the device for repair or trade-in. Knowing exactly which keys are faulty helps you negotiate a fair price or ensures the repair shop addresses the right problem.

Testing External and Magic Keyboards
External keyboards, including the Magic Keyboard, connect via USB or Bluetooth. The testing process is identical, but the stakes are slightly different. If your external keyboard maps incorrectly, you might find that the Caps Lock key acts as Ctrl, or that the Command key is missing.
This usually happens when the keyboard is paired with a different operating system or after a firmware update. Re-pairing the device or resetting the keyboard configuration often fixes these mapping errors. The tester confirms that the physical key sends the correct signal, separating hardware issues from software configuration problems.
Understanding Rollover Limits on Mac
Rollover refers to how many keys a keyboard can register simultaneously. While gaming keyboards often boast 1000KRO, most non-mechanical Mac keyboards have a limit of about 6 keys. This is a design choice to save power and reduce cost, not a defect.
However, if you find that pressing 5 keys works but the 6th fails, you are hitting the hardware limit, not experiencing a dead key. If you are a gamer using a Mac for competitive play, this limitation matters. You might experience key drops during complex shortcuts.
In this case, the issue is the hardware design, not a fault with that specific key.
When to Seek Professional Repair
If your tester shows that specific keys are dead, check for physical debris. Use compressed air to clean under the keys. If the keys are sticky, they might have liquid damage underneath. For internal MacBook keyboards, DIY repair is difficult and often not worth the cost. For external keyboards, inspection is easier. If cleaning doesn’t work, the keyboard likely needs replacement. Keep in mind that third-party tools cannot fix hardware failures; they only diagnose them.
What to Do Next
Run the test on your current Mac to establish a baseline. If you are buying a used Mac, test every key before paying. Save a screenshot of the test results if you find defects. Check your system settings for function key behavior to ensure your test results are accurate.
Common Mistakes When Diagnosing Mac Key Issues
Most users jump straight to hardware replacement when a key stops working, only to find the issue was software-related or easily fixable. This happens because the symptoms of a dirty key, a stuck modifier key, and a failed scissor mechanism can look identical on the screen.
The most frequent error is ignoring the NVRAM settings. On Intel-based Macs, resetting the NVRAM clears stored keyboard configurations that might have been corrupted by a power loss or OS update. On Apple Silicon Macs, this data is handled differently, so the fix involves a full shutdown and restart cycle rather than a specific key combination. If you skip this step, you might waste time cleaning keys that are perfectly fine.
Another common trap is testing keys in isolation without checking for context. For example, if the ‘A’ key works in a text field but not in a web browser, the issue is likely with the specific application or its accessibility settings, not the physical key.
Always test the suspected dead key in at least three different environments: a plain text editor, a web browser, and a system-level tool like Spotlight. If it works in all three, the hardware is likely intact.
- Check for stuck modifier keys: If Shift or Option seems to be permanently active, tap the key lightly to release it. A stuck modifier can make other keys appear dead or produce wrong characters.
- Verify input sources: Ensure you are using the correct keyboard layout. A mismatch between your physical keyboard and the selected input source can cause keys to register as different symbols or not at all.
- Disable slow keys and key repeat: In System Settings > Accessibility > Keyboard, turn off Slow Keys. This feature can sometimes delay or block rapid key presses, making keys appear unresponsive.
Hardware Inspection: What to Look For Before Repair
If software checks pass, it’s time to look at the physical keyboard. You don’t need to disassemble your Mac to spot obvious issues. Start by shining a bright light at an angle across the key surface. Look for crumbs, lint, or liquid residue trapped under the keycap. Even a tiny speck of dust can prevent the key from making proper contact with the switch.
For laptops with scissor-switch or butterfly mechanisms, gently wiggle the keycap side-to-side. If it feels loose or doesn’t snap back into place evenly, the stabilizer or scissor mechanism may be damaged. Be careful not to apply too much force, as these parts are fragile. If the keycap pops off, note the orientation of the stabilizer wires before attempting reattachment. Misaligning these wires is a common mistake that requires professional reassembly.
External keyboards offer a simpler inspection. You can often remove keycaps by gently prying them up with a plastic tool. Look for wear on the bottom surface of the keycap or debris in the switch housing. If you see corrosion or dried liquid, do not attempt to clean it with water or alcohol unless you are confident in your disassembly skills. Liquid damage often requires professional cleaning to prevent further corrosion.
Comparing Built-In vs. External Keyboard Failure Modes
Built-in and external keyboards fail in different ways, and understanding the difference helps you choose the right troubleshooting path. Built-in keyboards are more likely to suffer from physical wear due to lack of replaceable parts. If a key is physically broken, the entire top case or keyboard assembly may need replacement. This is a costly repair, so it’s worth exhausting software and cleaning options first.
External keyboards, especially Bluetooth models, often have wireless connectivity issues that mimic dead keys. A key might work perfectly when connected via USB but fail over Bluetooth due to signal interference or battery drain. Before assuming a key is dead, try connecting the keyboard via its USB-C or Lightning cable.
If the key works over wired connection, the issue is likely with the Bluetooth pairing or the battery level. Re-pairing the device and ensuring the battery is above 20% often resolves these phantom dead keys.
Here’s a simple comparison to guide your next steps:
- Built-in laptop keyboard: Focus on cleaning, NVRAM reset, and checking for physical damage. If a key is loose or broken, seek professional repair.
- External wired keyboard: Test with a different USB port or cable. If the issue persists, the key switch itself may be faulty, and replacement of the entire keyboard is usually more cost-effective than individual key repair.
- External wireless keyboard: Prioritize checking battery level and Bluetooth connection. Try wired connection to isolate the issue. If it works wired, re-pair the Bluetooth connection.
Frequently Asked Questions
Do I need to install software to test my Mac keyboard?
No. Most reliable mac keyboard testers run entirely in your browser. They use standard web APIs to detect key presses without requiring system permissions or installations. This makes them safe to use on any device without modifying your system configuration.
Why does my external keyboard map keys incorrectly?
This usually happens if the keyboard was previously paired with a Windows device. The layout settings might be stuck. You can often fix this by re-pairing the Bluetooth connection or using the built-in keyboard settings in macOS to reset the layout to US or your preferred standard.
Can a browser test detect sticky keys?
Yes. If a key registers multiple times when you press it once, the tester will show multiple inputs or a rapid sequence of codes. This indicates a sticky or failing switch, which is common in older butterfly mechanism keyboards.